
Vinyl flooring has become one of the most popular choices for homeowners and businesses alike. Known for its durability, affordability, and aesthetic appeal, vinyl flooring offers an array of benefits. Whether you’re renovating your home or looking for a practical solution for a high-traffic area, vinyl flooring might be the perfect fit. In this guide, we’ll explore everything you need to know about installing and maintaining vinyl flooring to ensure it lasts for years to come.
What is Vinyl Flooring?
Vinyl flooring is a synthetic flooring material that mimics the appearance of natural materials like wood, stone, and ceramic tiles. It is made primarily from PVC (polyvinyl chloride) and other compounds, which provide flexibility and resilience. There are two main types of vinyl flooring:
- Sheet Vinyl – This type comes in large, continuous rolls, making it ideal for covering large areas with fewer seams.
- Vinyl Plank or Tile – These are individual pieces designed to replicate wood or stone, offering a more customizable look.
Both types are available in a variety of colors, patterns, and textures, allowing you to find the perfect style for your space.
Why Choose Vinyl Flooring?
There are several compelling reasons why vinyl flooring is a great option for your home or business:
1. Durability
Vinyl flooring is highly durable and resistant to scratches, dents, and stains. It’s perfect for high-traffic areas like kitchens, bathrooms, and hallways, where other flooring materials may wear out quickly. It’s also water-resistant, making it ideal for wet areas such as bathrooms and laundry rooms.
2. Affordability
Compared to hardwood or natural stone floors, vinyl flooring is a budget-friendly alternative that doesn’t compromise on style. The cost of installation is also typically lower due to the ease of installation.
3. Easy Maintenance
One of the standout features of vinyl flooring is its low maintenance requirements. Unlike hardwood, it doesn’t need to be sanded or refinished. A quick sweep and occasional mopping are all that’s needed to keep your vinyl flooring looking brand new.
4. Variety of Styles
Whether you prefer the look of hardwood, stone, or a modern pattern, vinyl flooring offers endless options. Its ability to mimic other materials with realistic textures and finishes means you can get the look you want without the high cost or maintenance of natural products.
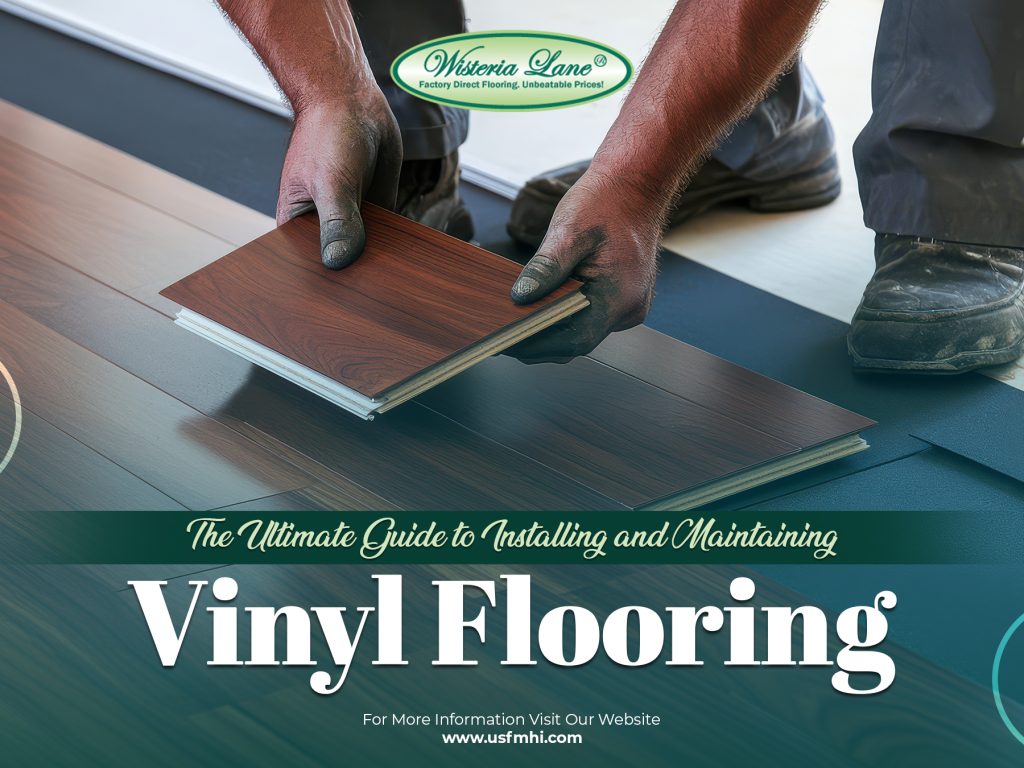
How to Install Vinyl Flooring
Installing vinyl flooring can be a DIY-friendly project, especially with vinyl plank or vinyl tile options. Below are the steps you can follow to achieve a professional-looking result.
Step 1: Prepare the Subfloor
Before laying down your vinyl flooring, ensure the subfloor is clean, dry, and level. Sweep away any dirt or debris, and patch any cracks or holes. For best results, your subfloor should be smooth and even to avoid uneven spots in your finished floor.
Step 2: Acclimate Your Vinyl Flooring
Vinyl flooring should be acclimated to the room temperature and humidity for at least 48 hours before installation. This helps prevent expansion or contraction once it’s installed.
Step 3: Plan the Layout
Start by planning the layout of your vinyl flooring. For vinyl plank flooring, arrange the planks in the direction of the longest wall, and leave a small gap along the edges to allow for expansion. If you’re installing sheet vinyl, unroll it and trim it to fit the room.
Step 4: Lay the Adhesive (for Glue-Down Vinyl)
If you’re using glue-down vinyl flooring, spread the adhesive on the subfloor using a notched trowel. Be sure to follow the manufacturer’s instructions for drying times and application methods.
Step 5: Install the Flooring
Once the adhesive is ready, begin laying your vinyl flooring. For planks or tiles, start in one corner and work your way across the room, pressing each piece into place. If you’re installing sheet vinyl, carefully unroll and trim the edges to fit the room.
Step 6: Trim and Finish
After the vinyl flooring is laid, trim any excess material from the edges. Use a utility knife to carefully cut around corners and walls. Finally, apply a vinyl seam sealer to ensure the seams are watertight and prevent lifting.
Tips for Professional Results
- Ensure Proper Spacing: When installing vinyl plank or tile, leave a small gap along the edges of the room for expansion. Use spacers to maintain consistent gaps around the perimeter.
- Use a Roller: For glue-down vinyl flooring, use a floor roller to press the material into the adhesive and remove any air bubbles.
- Plan for Transitions: If your vinyl flooring meets other types of flooring (like carpet or tile), use transition strips to create a smooth, professional look.
Maintaining Vinyl Flooring
While vinyl flooring is known for being low-maintenance, proper care will help extend its lifespan and keep it looking its best.
1. Regular Cleaning
Regular cleaning is the simplest way to maintain vinyl flooring. Sweep or vacuum the floor frequently to remove dirt and debris. This prevents abrasive particles from scratching the surface. For deeper cleaning, use a damp mop with a mild cleaner that is safe for vinyl flooring.
2. Avoid Harsh Chemicals
Avoid using harsh cleaning products or abrasive scrubbers on vinyl flooring, as they can damage the surface and cause discoloration. Stick to pH-balanced cleaners designed specifically for vinyl.
3. Prevent Scratches and Dents
While vinyl flooring is durable, it’s still susceptible to damage from heavy furniture or sharp objects. Place felt pads under furniture legs and avoid dragging heavy items across the floor. Additionally, consider using rugs or mats in high-traffic areas to protect the surface.
4. Repair Scratches and Tears
If your vinyl flooring gets scratched or damaged, don’t worry—small imperfections can often be fixed. For minor scratches, use a vinyl floor repair kit to fill in the damage. For larger tears, you may need to replace the affected tile or plank.
5. Control Temperature and Humidity
Extreme temperature changes can cause vinyl flooring to expand or contract. It’s best to maintain a consistent temperature and humidity level in the room. Avoid placing vinyl flooring in direct sunlight for extended periods, as this can cause fading or warping.
When to Replace Vinyl Flooring
Though vinyl flooring is long-lasting, it doesn’t last forever. Here are some signs it might be time for a replacement:
- Severe Scratches or Damage: If the surface has deep scratches or tears that cannot be repaired, replacing the flooring might be the best option.
- Stubborn Stains: Persistent stains or discoloration that cleaning cannot remove may indicate the need for replacement.
- Lifting or Buckling: If vinyl flooring begins to lift, buckle, or show signs of water damage, it may be time for a new installation.
Conclusion
Vinyl flooring is a practical, cost-effective, and versatile option for any home or business. With its easy installation process, minimal maintenance needs, and variety of styles, it’s no wonder why more people are choosing it for their spaces. By following proper installation and maintenance tips, you can ensure that your vinyl flooring stays in top condition for years to come.