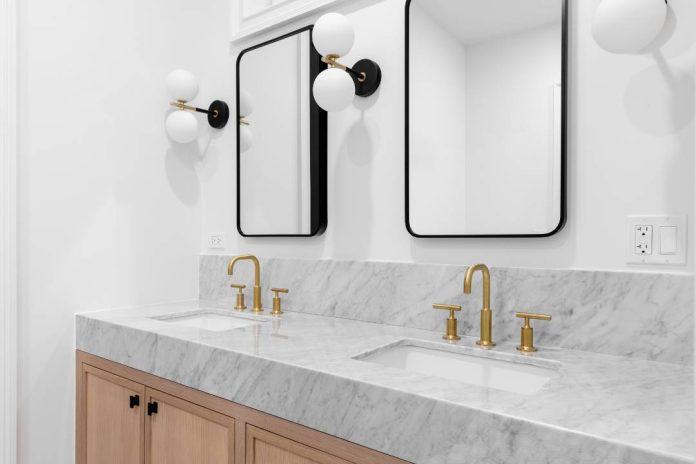
Building your own medicine cabinet with a mirror can be a rewarding and practical DIY project. Not only does it save money, but it also allows you to customize the design to fit your specific needs and style preferences. In this guide, we’ll walk you through the process step-by-step, from gathering materials to putting the finishing touches on your cabinet. By the end, you’ll have a beautiful and functional medicine cabinet that you can be proud of.
Why Build a DIY Medicine Cabinet With a Mirror?
Building a DIY medicine cabinet with a mirror is a fantastic way to add a personal touch to your bathroom. Here are a few reasons why you might want to take on this project:
- Customization: You can design the cabinet to fit perfectly in your space and match your bathroom decor.
- Cost-effective: Building your own cabinet can be much cheaper than purchasing a pre-made one.
- Satisfaction: Creating something with your hands is a great sense of accomplishment.
Materials and Tools Needed
Before you get started, gather all the materials and tools you’ll need. Here’s a comprehensive list:
Materials
- Plywood or MDF (medium-density fiberboard)
- Mirror (cut to size)
- Cabinet hinges
- Screws and nails
- Wood glue
- Paint or stain
- Sandpaper
- Wood filler
Tools
- Measuring tape
- Saw (circular saw or jigsaw)
- Drill
- Screwdriver
- Clamps
- Paintbrushes or rollers
- Level
- Safety goggles and gloves
Step-by-Step Guide to Building Your DIY Medicine Cabinet With a Mirror
Step 1: Plan Your Design
The first step is to plan out your design. Measure the space where you want to install the cabinet and decide on the dimensions. Consider the depth, height, and width of the cabinet. Sketch out your design, including shelves and the mirror placement.
Step 2: Cut the Wood
Using your measurements, cut the plywood or MDF into the necessary pieces. You’ll need:
- Two side panels
- Top and bottom panels
- Back panel
- Shelves (number and size depend on your design)
- Door panel (where the mirror will be attached)
Make sure all the cuts are straight and smooth, and sand the edges to avoid splinters.
Step 3: Assemble the Frame
Assemble the main frame of the bathroom mirror cabinet by attaching the side panels to the top and bottom panels. Use wood glue and screws to secure the pieces together. Make sure everything is square and level before the glue dries.
Step 4: Attach the Back Panel
Attach the back panel to the frame using wood glue and nails or screws. This will add stability to the cabinet.
Step 5: Install the Shelves
Decide on the placement of your shelves and mark the positions on the side panels. Use wood glue and screws to secure the shelves in place. Ensure they are level before the glue sets.
Step 6: Prepare the Door
Cut the door panel to size and sand the edges. Attach the mirror to the door using mirror adhesive or mounting tape. Be careful to center the mirror and ensure it’s securely attached.
Step 7: Attach the Door to the Frame
Attach the door to the cabinet frame using cabinet hinges. Make sure the door swings open and closes smoothly. You may need to adjust the hinges to get the perfect fit.
Step 8: Fill and Sand
Fill any gaps or holes with wood filler and sand the entire cabinet to create a smooth surface. This step is crucial for achieving a professional finish.
Step 9: Paint or Stain
Apply your chosen paint or stain to the cabinet. Use multiple coats if necessary, allowing each coat to dry completely before applying the next. This will protect the wood and give your cabinet a polished look.
Step 10: Install the Cabinet
Once the paint or stain is dry, it’s time to install the cabinet in your bathroom. Use screws and wall anchors to secure the cabinet to the wall. Make sure it is level and securely attached.
Tips and Tricks for a Successful DIY Medicine Cabinet Project
- Measure Twice, Cut Once: Double-check all your measurements before cutting to avoid mistakes.
- Use Clamps: Clamps are your best friend when assembling the cabinet. They help keep everything in place while the glue dries.
- Take Your Time: Rushing through the project can lead to mistakes. Take your time to ensure everything is done correctly.
- Safety First: Always wear safety goggles and gloves when working with tools.
Conclusion
Building a DIY medicine cabinet with a mirror is a rewarding project that adds both functionality and style to your bathroom. By following these step-by-step instructions, you can create a custom cabinet that meets your needs and showcases your craftsmanship. Remember to plan carefully, take your time, and enjoy the process.
